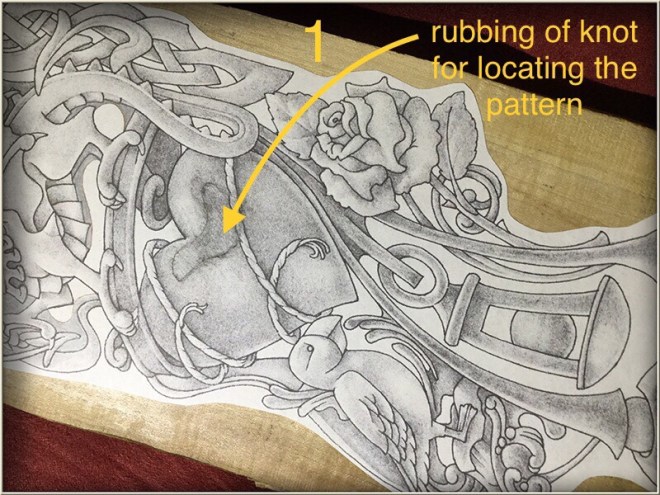
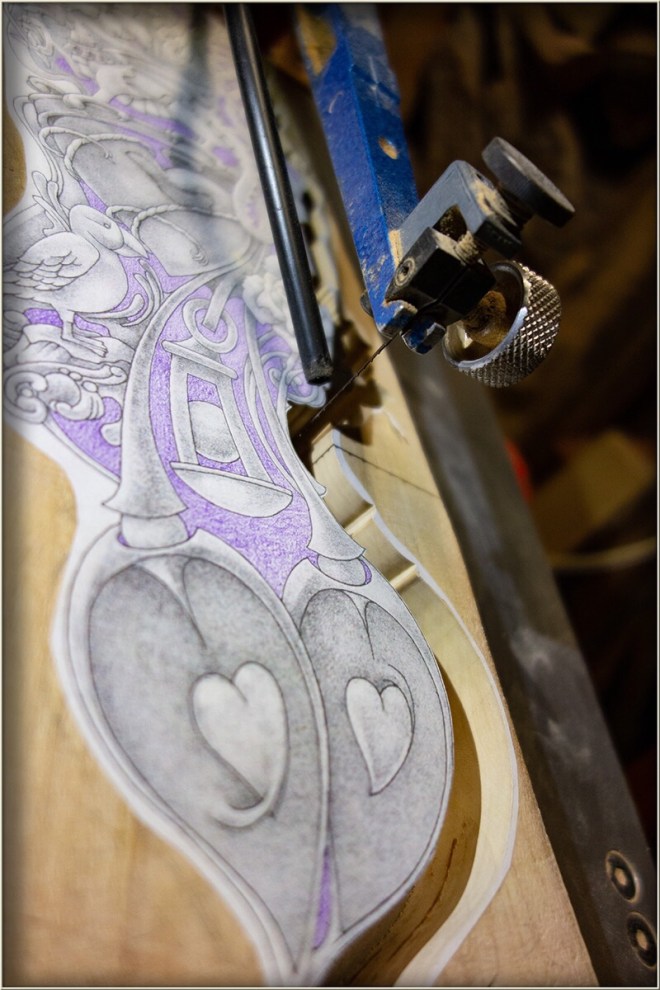
The printed pattern for the lovespoon is pasted with spray adhesive onto the selected timber blank and cutting of the lovespoon’s plan-view shape can commence. In this case I needed to locate the pattern in precise alignment over the feature knot in a way that would locate the knot within an area toward the top of the heart between the two to-be-gilded cords winding diagonally across it. (1) By pressing an indentation into the paper pattern in the region of the feature knot the correct location of the pattern on the blank is accomplished . Since there was very little room to move in locating this, really none at all, I just needed to hope for the best, in the attempt to get it right. Even a couple of millimeters would make a difference to the flow of the cord’s curved path over the surface of the heart.
Maintaining fair and graceful curves throughout the carving process is going to be a constant concern in this design. The relationship of the various lines that describe the edges will be crucial to the task of relating all these elements of the carving.
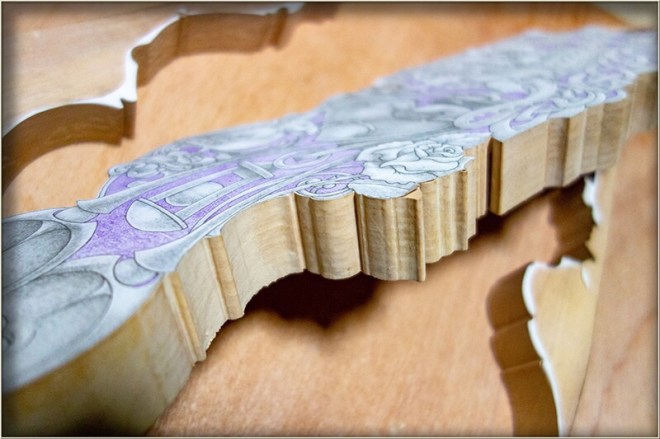
There will be many third dimension unknowns in the final design that await inclusion, as the two dimensional pattern is transformed at the keen, wilful edges of knives, chisels and gouges, through a variably-compliant timber’s, one inch thickness, to the Lovespoons final finished form. This finished form will be accomplished with many irreversible tool edge incisions as the carving and further design work proceed concurrently.

It would be possible to plan the design more thoroughly, so that the whole three dimensional form of the carving was a known quantity, but this would require producing a marque. Then with this three dimensional representation available, the carving process would be mostly a matter of copying what has already been decided.
My preferred method is to spend a fair bit of time on the plan view of the carving and then work more intuitively in the carving stage. I can, however, see some benefit in producing a marque in clay or even a paper and card model, and I might try this approach sometime.
As I mentioned earlier, doing a more carefully rendered drawing of the pattern, has helped a little in this way by ‘modelling’ each of the carving’s elements, conceptually at least, as the shading indicates how the third dimension of the form might go and as enough time is spent dwelling over each element to consider how it might be carved.
The nature of timber together with the special geometry of each carving tool’s cutting edge are useful additions to the vocabulary of describing the carved form as chisels and gouges leave their peculiar tool marks. As the tool marks and developmental forms emerge and intersect there are suggestions the proceeding work makes, that can lead he design imagination, in directions that would not otherwise occur. This dynamic design process has its dangers but also its benefits.
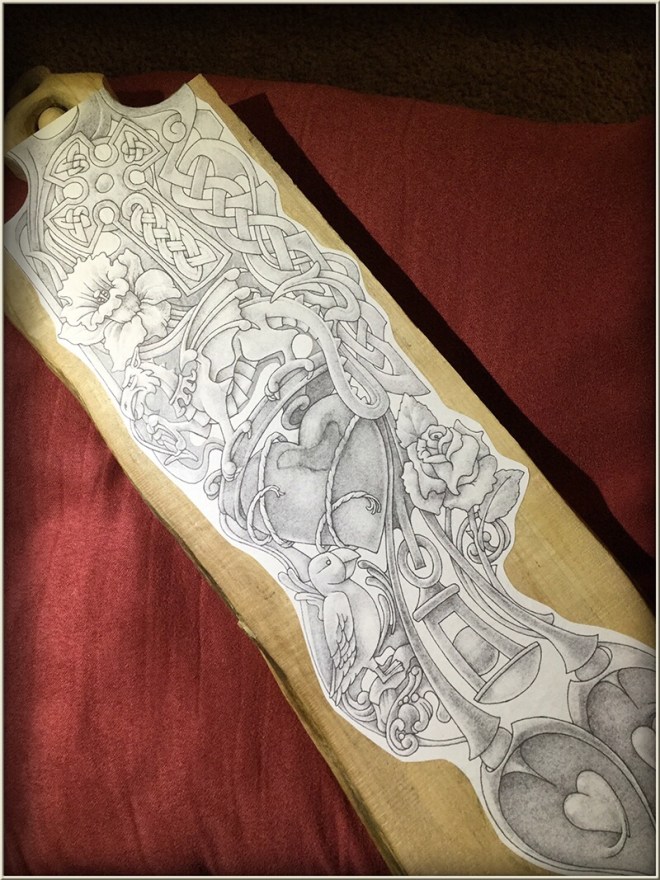
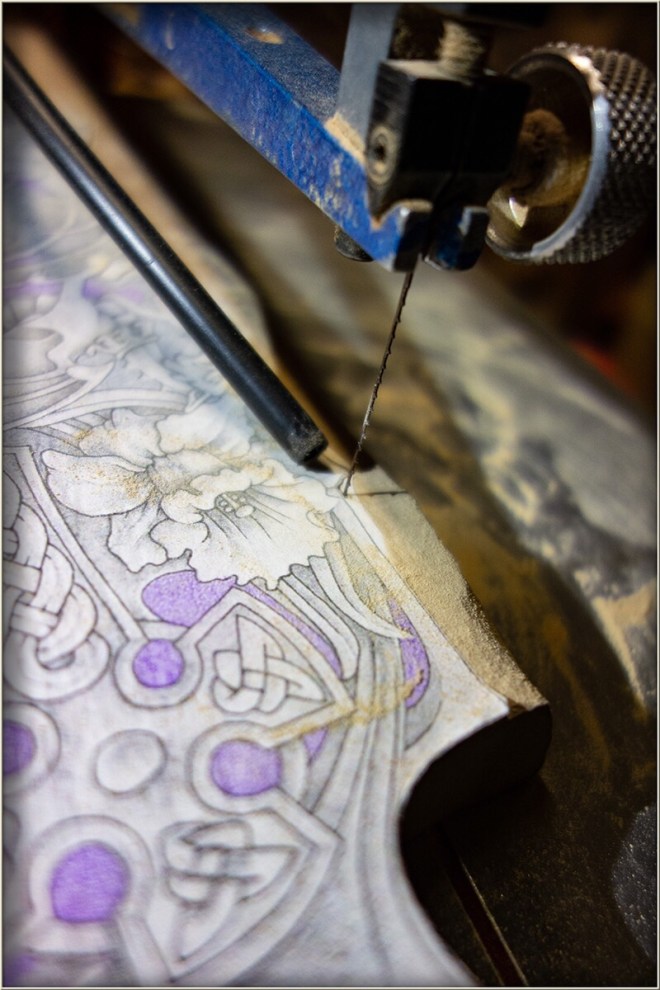
So in cutting the carving blank on the scroll saw I have cut as close to the outside of the line as I could around most of the perimeter of the design and have left a little more material in places where options might develop. I have used a ‘Flying Dutchman’ brand #7 modified geometry blade for the cutting the one inch thick blank. Cutting was quite slow and the Japanese, Maple seems to be a bit harder than the rock maple I am used to.
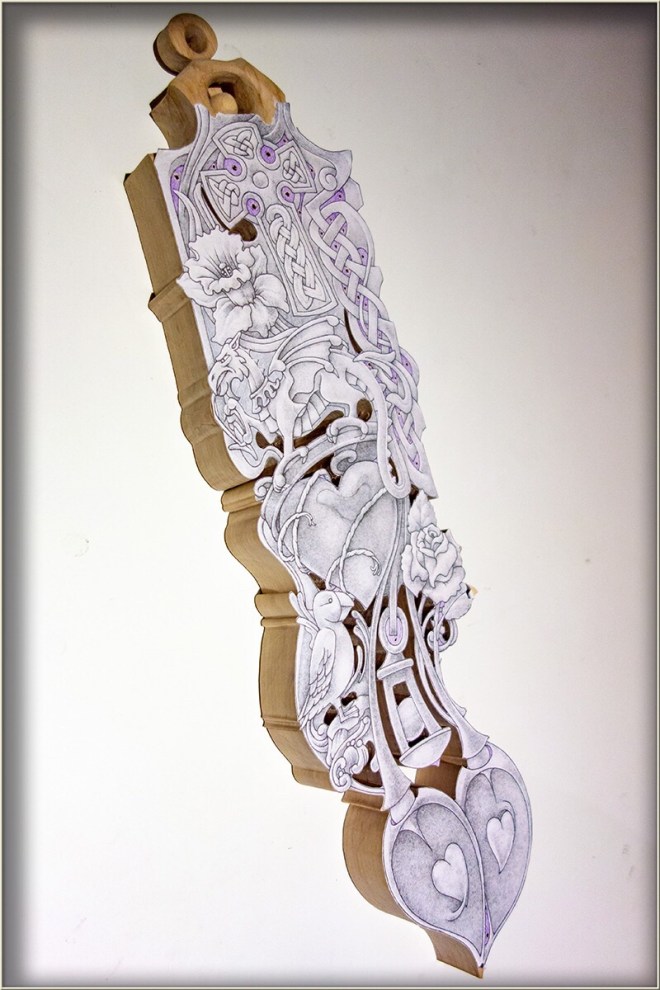
Inside cuts (shaded with purple coloured pencil) were then prepared for by drilling into the apertures. Because of the slow cutting which meant the possible wandering or bowing inside the cut I have only cut the larger of the inside cuts and have not cut as close to the line in critical areas. In some parts like the Celtic knot-work the apertures have not been cut at all. I might leave the cutting in these locations to when the timber is thinned at that point and then use a fret saw or piercing saw or perhaps just use the edge tools to work from the drilled holes.

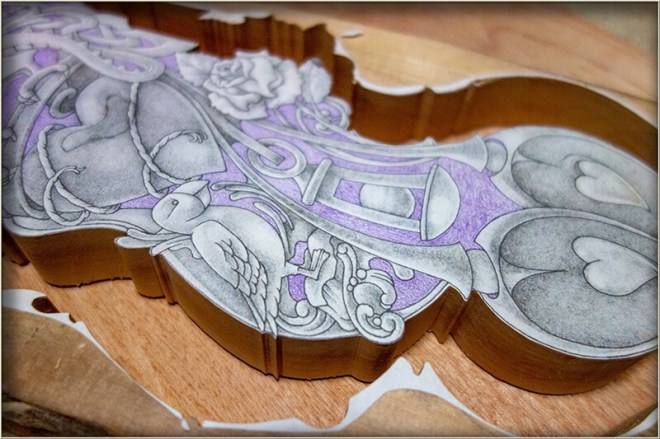
When the cutting of the blank is complete the carving work and the continued design during that carving can get under way. With the carving work, I will commence with the elements that pose the most danger of failure. There are a few such areas in this design, the foremost being the loose-hanging ball-in-cage lantern. In the next post I will describe the roughing out of access to the area for this feature and the carving of this feature.
